User Management
Create a new user
To create a new user make sure you are logged in as an administrator.
Click on the “Users” tab.
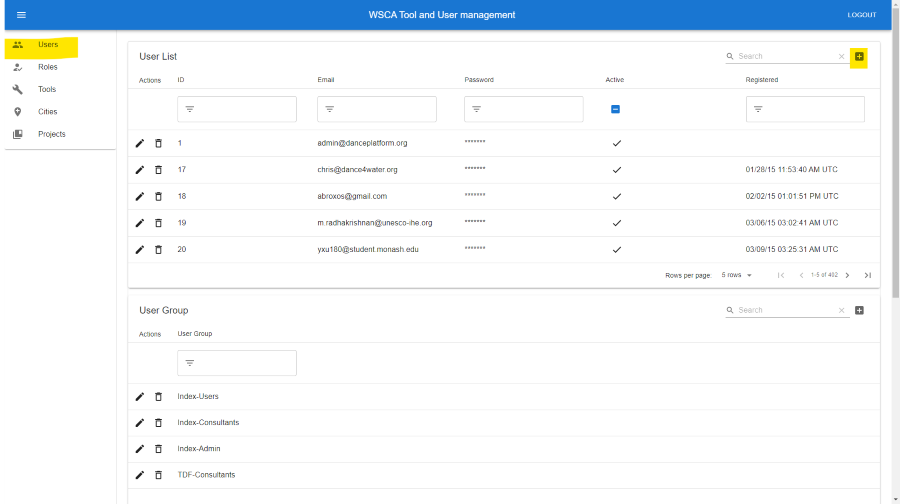
Click on the “Add” button next to the search field in the top right corner.
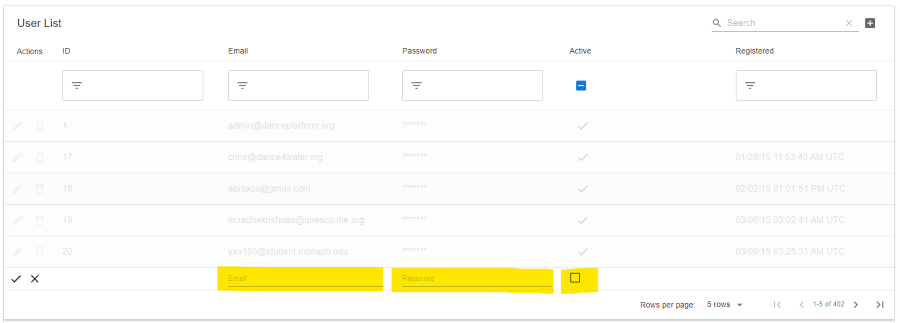
Fill in the required fields and click on the “tick” button to create the user. Note you should choose a strong password for the user. Further, the email address should be unique. You will need to send the username and password to the user.
Reset a user’s password
To reset a user’s password make sure you are logged in as an administrator.
Click on the “Users” tab.
Use the search field to find the user you want to reset the password for.
Click on the “Edit” button next to the user’s name.
Change the password and click on the “tick” button to save the changes. Make sure you choose a strong password. You will need to send the new password to the user.

Deactivate a user
To deactivate a user make sure you are logged in as an administrator. This will remove the user’s access to all tools and products.
Click on the “Users” tab.
Use the search field to find the user you want to deactivate.
Click on the “Edit” button next to the user’s name.
Deselect the “Active” checkbox and click on the “tick” button to save the changes.
User Groups
Users can be oganised into groups. This allows you to give access to tools and products to a group of users, without having to give access to each user individually.
Create a new user group
To create a new user group make sure you are logged in as an administrator.
Click on the “Users” tab.
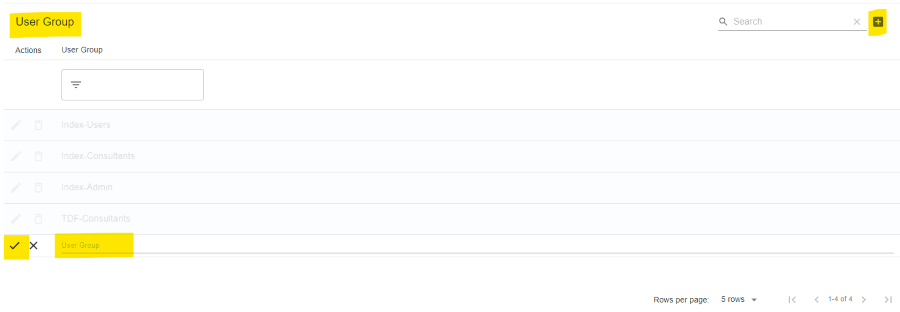
Scroll down to the “User Groups” section.
Click on the “Add” button next to the search field in the top right corner.
Fill in the required fields and click on the “tick” button to create the user group.
Add users to a user group
To add users to a user group make sure you are logged in as an administrator.
Click on the “Users” tab.
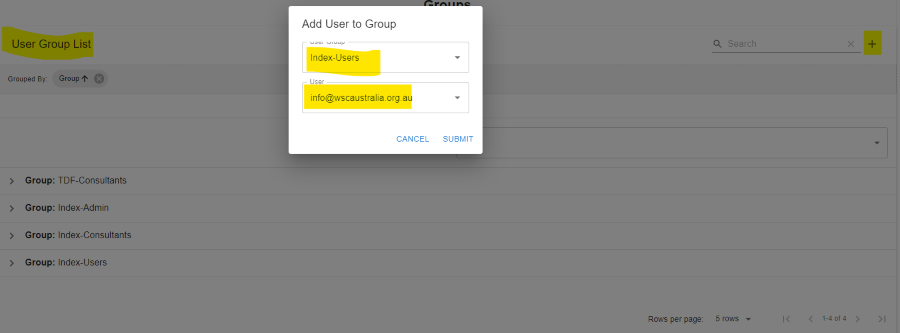
Scroll down to the “User Group List” section.
Click on the “Add” button next to the search field in the top right corner.
Select the user group you want to add users to.
Select the users you want to add to the user group.
Submit the form.
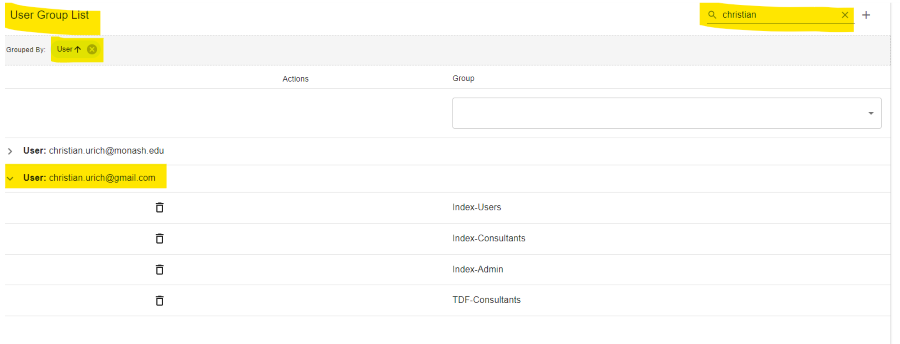
Using the User Group List
Per default, the User Group List is grouped by user group. You can remove the grouping by clicking the x in the “Group” field in the Grouped By section.
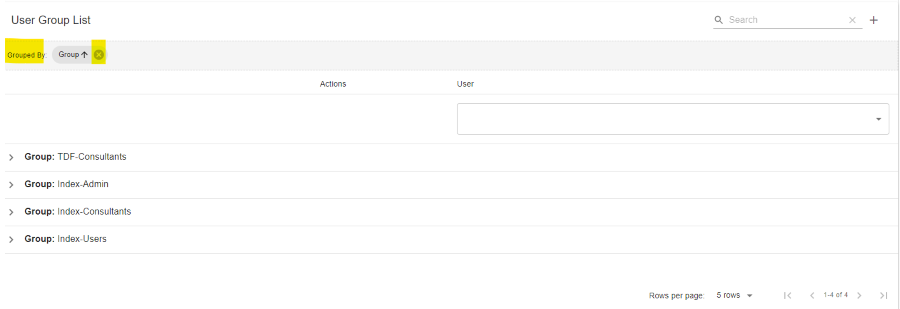
Removing the grouping will show all users and their user groups in a single list. You can use Group and User filters to find a specific user or user group.
By dragging a column header into the “Grouped By” section you can group the list by that column. Using the search field you can search for a specific user or user group. The example below shows the User Group List grouped by user name and filtered for users with the name “christian”. This allows you to quickly find all user groups a user is part of.